There are Many raspberry pi robot kits availble I aim to show you how the Different ones Work Below. you will find some of the ones that I have.
CamJam EduKit Robot
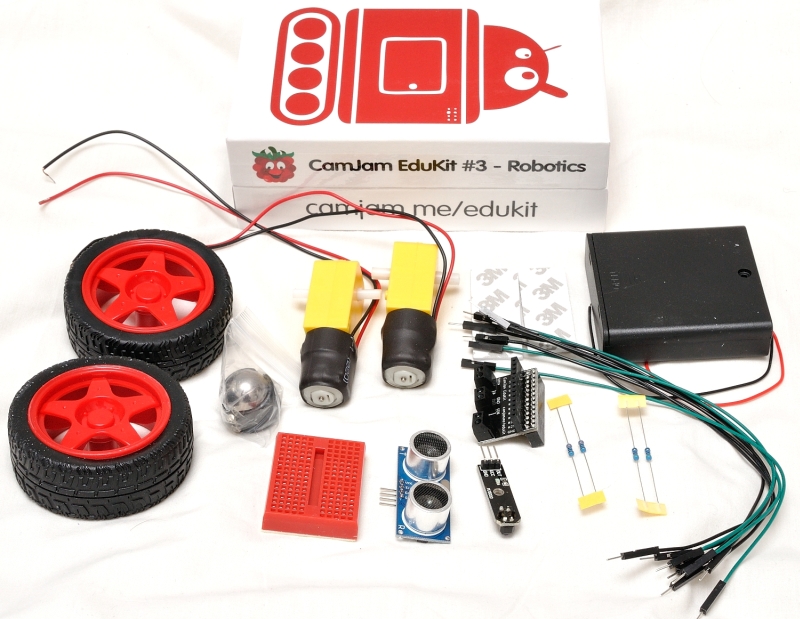
How to build your robot!
This is what your finshed robot should look like:
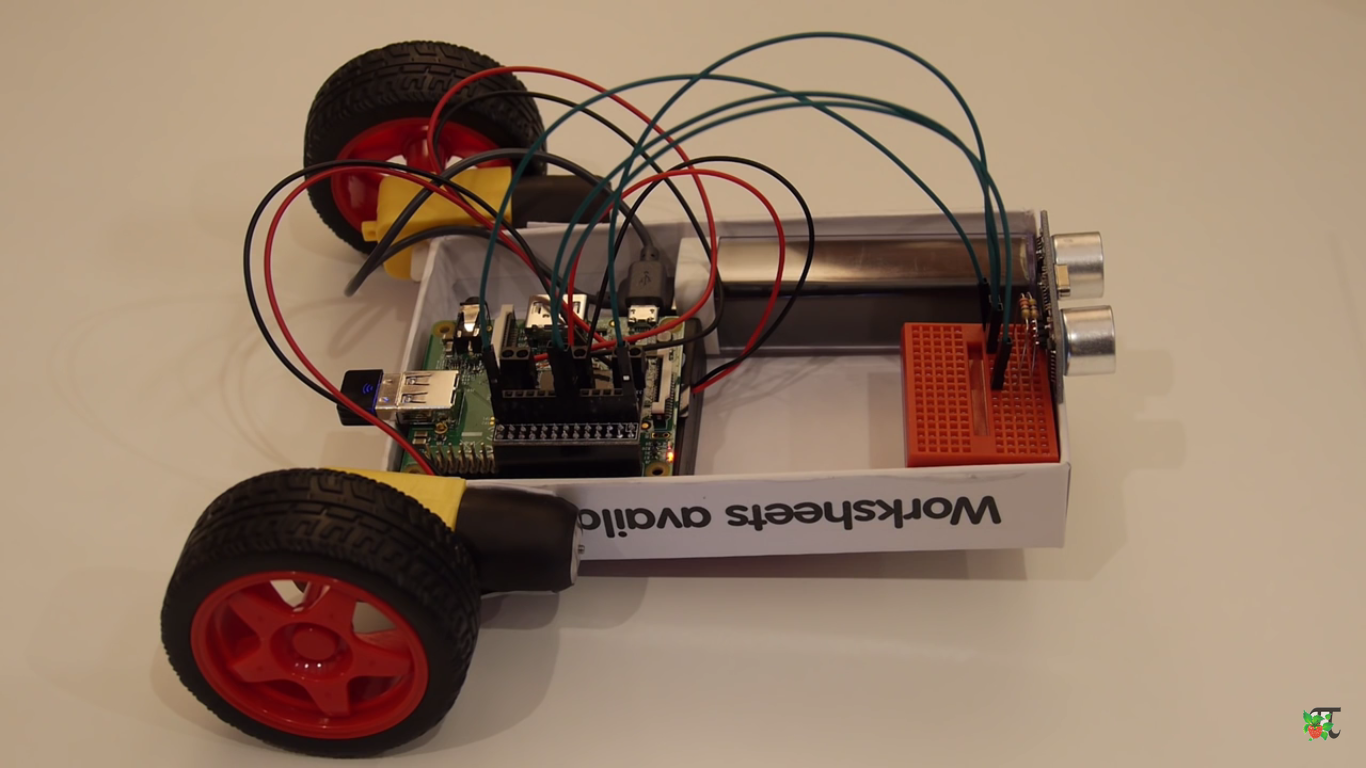
First take you box and attatch your two motors to it like this:
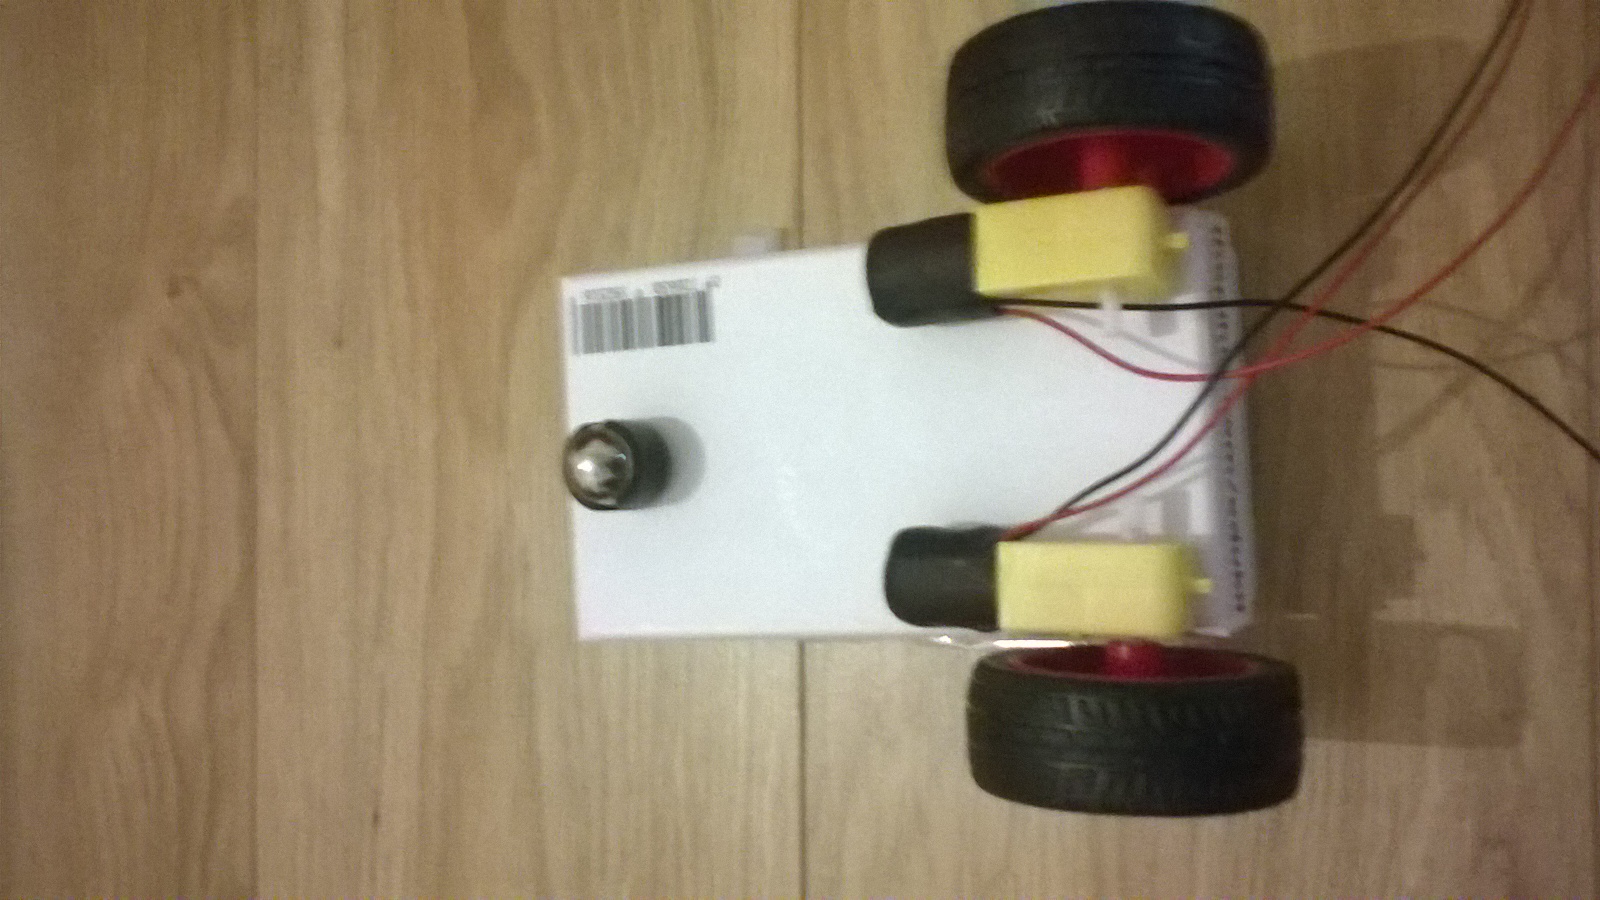
Next punch holes through the bottom of the box and push the wires in like this:
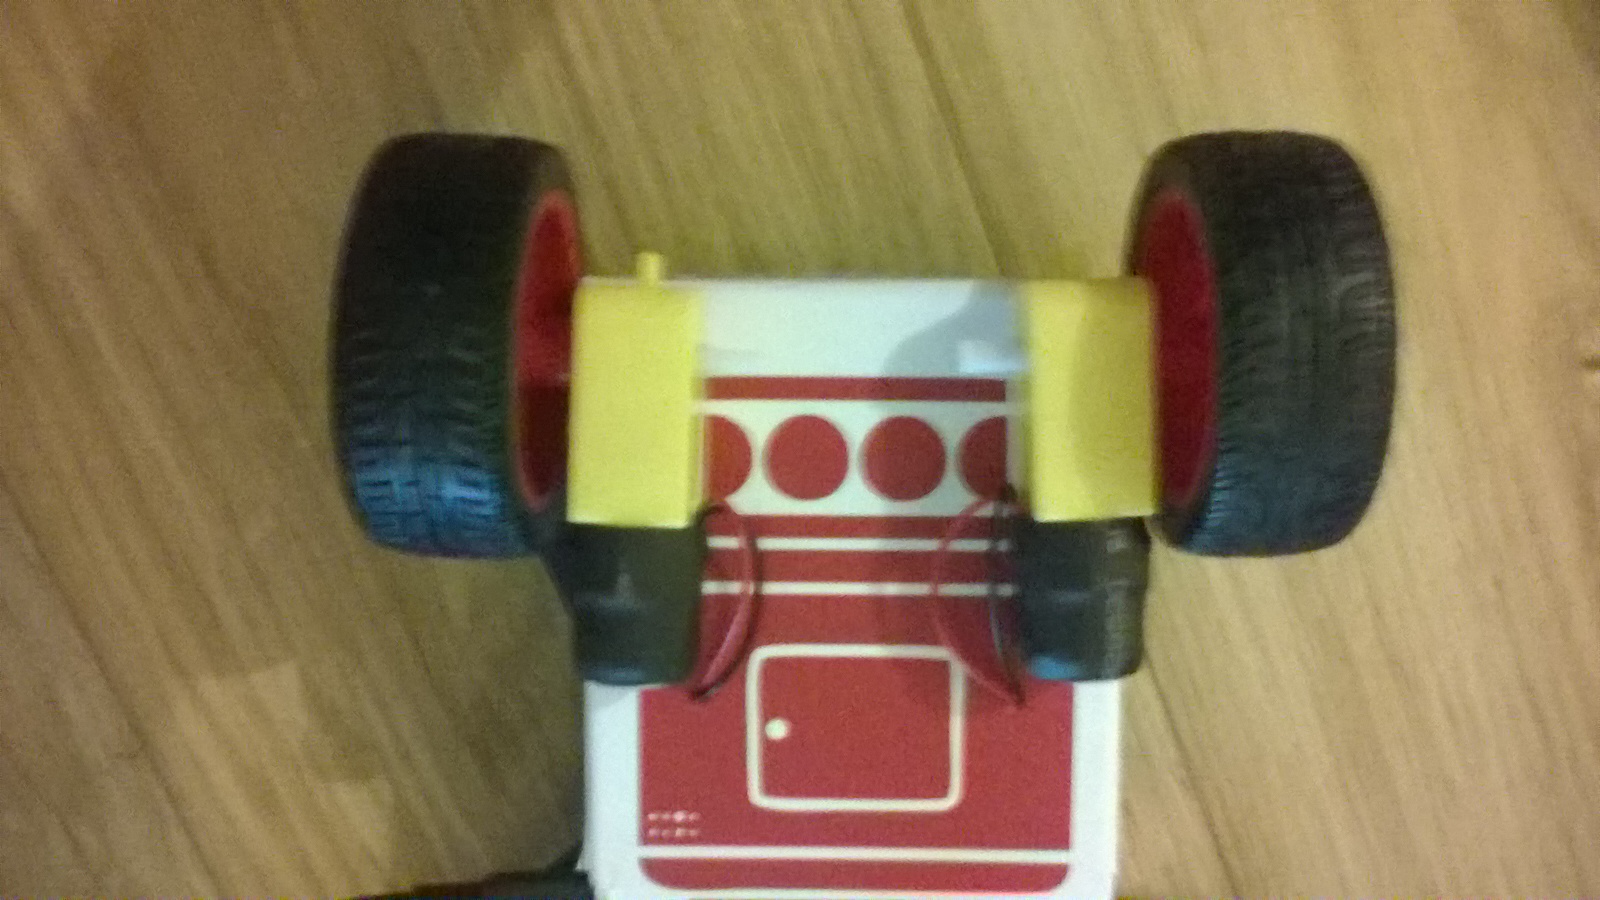
Now cut out bits of the box so the port can fit e.g. the usb, ethernet...
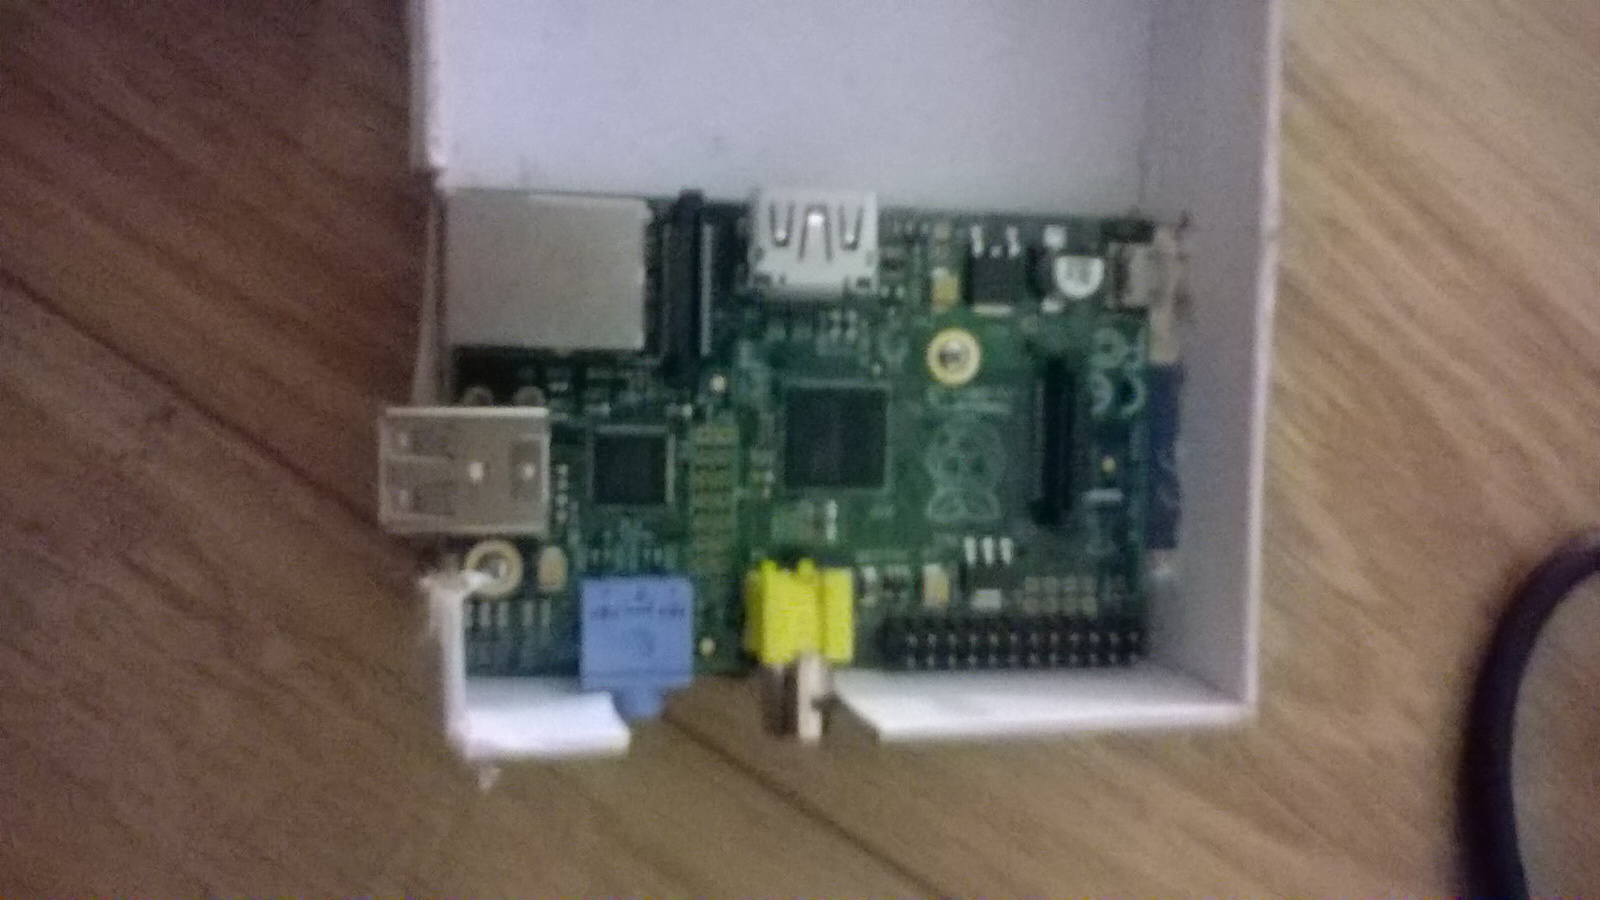
Then connect the wires of the motors and battery pack to the motor contoller board HAT:
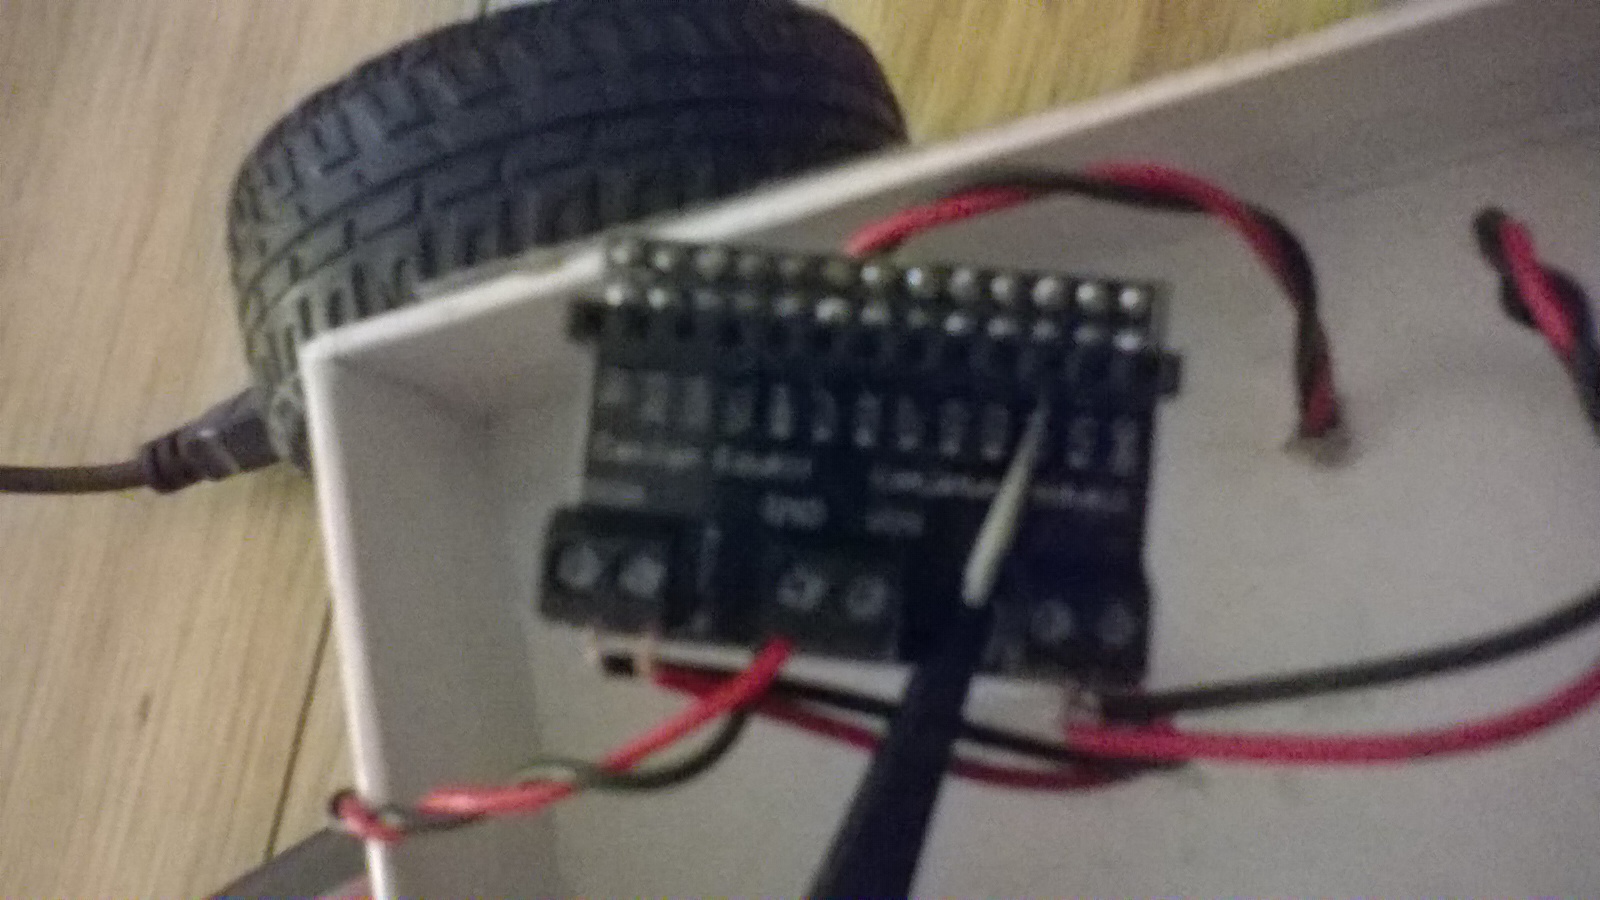
Here is the basic control of motors:
Now stick the Mini breadboard on to the corner of of the box:
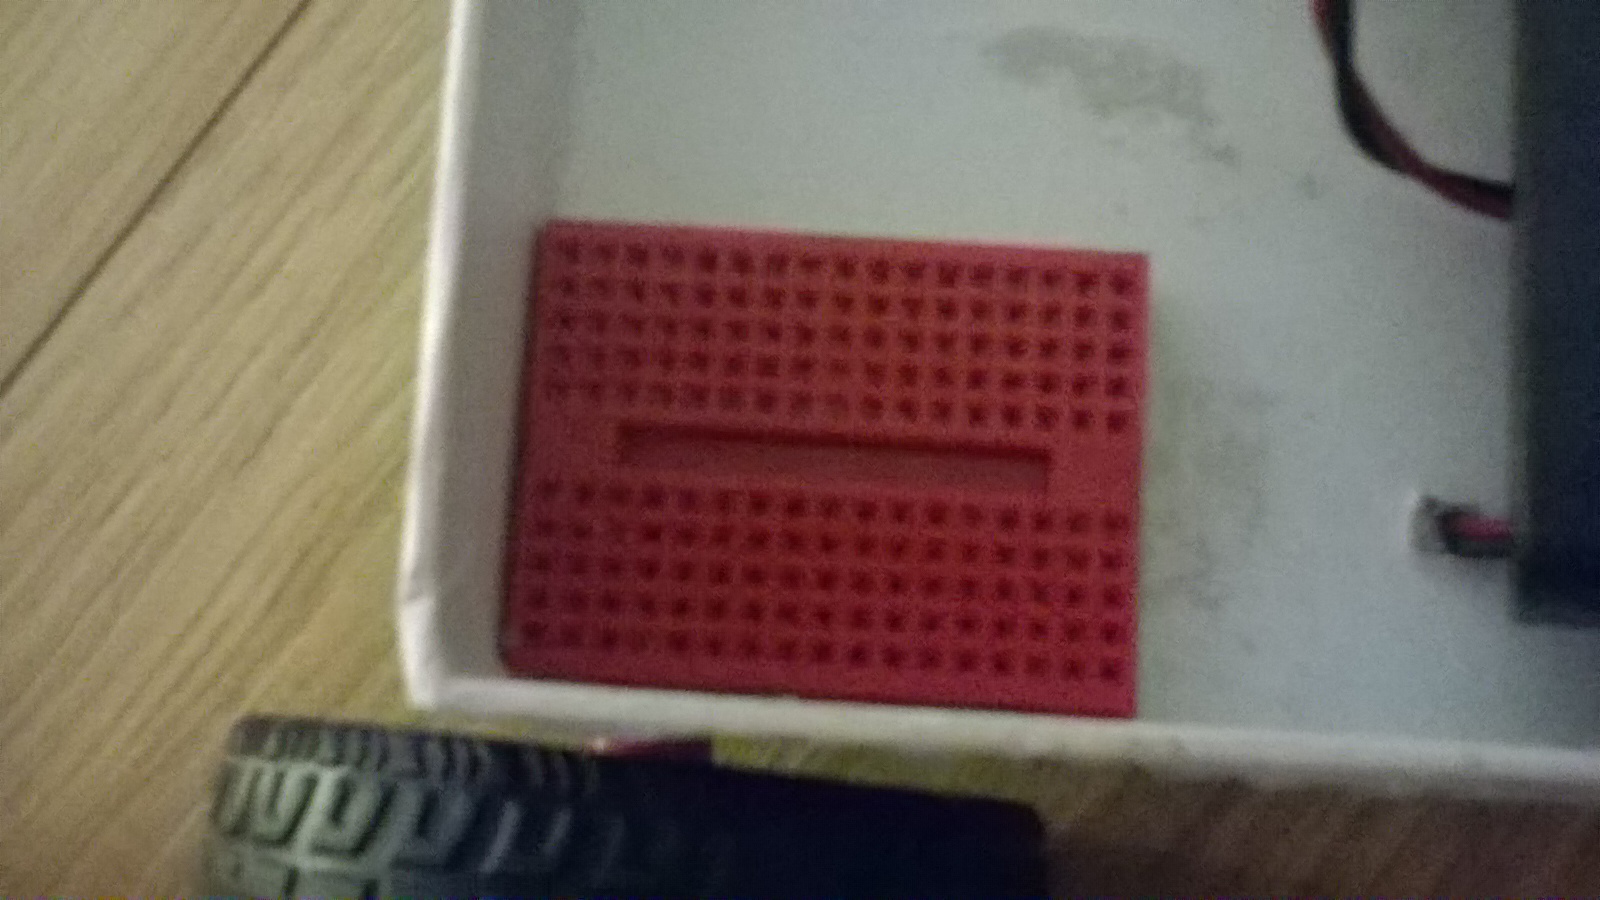
Congratulations on building your CamJam EduKit Robot

Basic Motor Control
  # CamJam EduKit 3 - Robotics
  # A test code with the bits you need to use you CamJam EduKit robot
  import RPi.GPIO as GPIO # Import the GPIO Library
  import time # Import the Time library

  # Set the GPIO modes
  GPIO.setmode(GPIO.BCM)
  GPIO.setwarnings(False)

  # Set the GPIO Pin mode
  GPIO.setup(7, GPIO.OUT)
  GPIO.setup(8, GPIO.OUT)
  GPIO.setup(9, GPIO.OUT)
  GPIO.setup(10, GPIO.OUT)

  # Turn all motors off
  GPIO.output(7, 0)
  GPIO.output(8, 0)
  GPIO.output(9, 0)
  GPIO.output(10, 0)

  # Turn the Left motor forwards
  GPIO.output(9, 0)
  GPIO.output(10, 1)

  # Turn the Right motor forwards
  GPIO.output(7, 0)
  GPIO.output(8, 1)

  # Wait for 1 second
  time.sleep(1)

  # Reset the GPIO pins (turns off motors too)
  GPIO.cleanup()
Here is what each piece of this code does:
To import the GPIO library which allows us to use the GPIOs (General Purpose Input Output pins):
import RPi.GPIO as GPIO # Import the GPIO Library
Set the GPIOs so they will work:
  GPIO.setmode(GPIO.BCM)
  GPIO.setwarnings(False)
Tell python the inividual GPIOs we want to use:
  GPIO.setup(7, GPIO.OUT)
  GPIO.setup(8, GPIO.OUT)
  GPIO.setup(9, GPIO.OUT)
  GPIO.setup(10, GPIO.OUT)
To start with we will turn all the Motors of:
  GPIO.output(7, 0)
  GPIO.output(8, 0)
  GPIO.output(9, 0)
  GPIO.output(10, 0)
Now we can turn the Motors individually so lets start by first turning the left motor (motor A)
  GPIO.output(9, 0)
  GPIO.output(10, 1
Naturally we will now set the right motor forward (motor) B to foward in the same way
  GPIO.output(7, 0)
  GPIO.output(8, 1)
At the End of Our Code we want to clean up are GPIO pins otherwise we would end up ruining our raspberry pi, we can do this by typing
GPIO.cleanup()
You may have noticed that I have not shown what the time.sleep() function does. This is becuase I have shown how to do in my explorer HAT robot tutorial.
How to control your robot with your normal computer (SSH):
In this tutorial you will learn to control using an SSH client called putty:
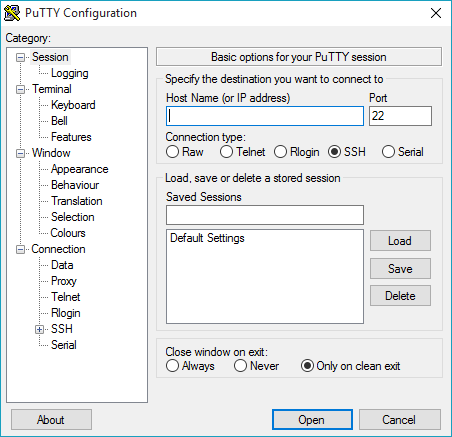 Click here to download putty!
click on the link that that says "putty.exe"
first we need to set a static IP on the pi so we do this by opening up terminal and typing:
pi@raspberry ~ $ ifconfig
make a note of the IP adress (inet addr), Broadcast rasnge (Bcast) and the Subnet mask (Mask) it gives you then type
pi@raspberry ~ $ sudo route -n
Ok make a note of the Destination and Gateway adress then type:
pi@raspberry ~ $ sudo nano /etc/network/interfaces
this will have given you a screen that looks like this:
  allow-hotplug wlan0
  iface wlan) inet manual
  wpa_roan /etc/wpa_supplicant/
  wpa_supplicant.conf
ok now change where it says manual on line 2 to static and add the next five lines:
  address [the ip address you got]
  netmask [the netmask you got]
  network [the destination]
  broadcast [the broadcast range]
  gateway [the gateway]
so now we have done lets start our ssh client by opening it up and entering the ip adress we set earlier:
.png)
Now click open and enter your user name and password and you will find yourself in a similar interface as we were before this is becuase we have SSH'd into the raspberry pi's terminal so we will be able to run any of the programs you have written! Congratulations you can now control you robot via SSH!!
# CamJam EduKit 3 - Robotics
# A test code with the bits you need to use you CamJam EduKit robot
import RPi.GPIO as GPIO # Import the GPIO Library
import time # Import the Time library
# Set the GPIO modes
GPIO.setmode(GPIO.BCM)
GPIO.setwarnings(False)
# Set the GPIO Pin mode
GPIO.setup(7, GPIO.OUT)
GPIO.setup(8, GPIO.OUT)
GPIO.setup(9, GPIO.OUT)
GPIO.setup(10, GPIO.OUT)
# Turn all motors off
GPIO.output(7, 0)
GPIO.output(8, 0)
GPIO.output(9, 0)
GPIO.output(10, 0)
# Turn the Left motor forwards
GPIO.output(9, 0)
GPIO.output(10, 1)
# Turn the Right motor forwards
GPIO.output(7, 0)
GPIO.output(8, 1)
# Wait for 1 second
time.sleep(1)
# Reset the GPIO pins (turns off motors too)
GPIO.cleanup()
Here is what each piece of this code does:
To import the GPIO library which allows us to use the GPIOs (General Purpose Input Output pins):
import RPi.GPIO as GPIO # Import the GPIO Library
Set the GPIOs so they will work:
GPIO.setmode(GPIO.BCM)
GPIO.setwarnings(False)
Tell python the inividual GPIOs we want to use:
GPIO.setup(7, GPIO.OUT)
GPIO.setup(8, GPIO.OUT)
GPIO.setup(9, GPIO.OUT)
GPIO.setup(10, GPIO.OUT)
To start with we will turn all the Motors of:
GPIO.output(7, 0)
GPIO.output(8, 0)
GPIO.output(9, 0)
GPIO.output(10, 0)
Now we can turn the Motors individually so lets start by first turning the left motor (motor A)
GPIO.output(9, 0)
GPIO.output(10, 1
Naturally we will now set the right motor forward (motor) B to foward in the same way
GPIO.output(7, 0)
GPIO.output(8, 1)
At the End of Our Code we want to clean up are GPIO pins otherwise we would end up ruining our raspberry pi, we can do this by typing
GPIO.cleanup()
You may have noticed that I have not shown what the time.sleep() function does. This is becuase I have shown how to do in my explorer HAT robot tutorial.
How to control your robot with your normal computer (SSH):
In this tutorial you will learn to control using an SSH client called putty:
 Click here to download putty!
click on the link that that says "putty.exe"
first we need to set a static IP on the pi so we do this by opening up terminal and typing:
pi@raspberry ~ $ ifconfig
make a note of the IP adress (inet addr), Broadcast rasnge (Bcast) and the Subnet mask (Mask) it gives you then type
pi@raspberry ~ $ sudo route -n
Ok make a note of the Destination and Gateway adress then type:
pi@raspberry ~ $ sudo nano /etc/network/interfaces
this will have given you a screen that looks like this:
allow-hotplug wlan0
iface wlan) inet manual
wpa_roan /etc/wpa_supplicant/
wpa_supplicant.conf
ok now change where it says manual on line 2 to static and add the next five lines:
address [the ip address you got]
netmask [the netmask you got]
network [the destination]
broadcast [the broadcast range]
gateway [the gateway]
so now we have done lets start our ssh client by opening it up and entering the ip adress we set earlier:
.png)
Now click open and enter your user name and password and you will find yourself in a similar interface as we were before this is becuase we have SSH'd into the raspberry pi's terminal so we will be able to run any of the programs you have written! Congratulations you can now control you robot via SSH!!
import RPi.GPIO as GPIO # Import the GPIO Library
GPIO.setmode(GPIO.BCM)
GPIO.setwarnings(False)
Tell python the inividual GPIOs we want to use:
GPIO.setup(7, GPIO.OUT)
GPIO.setup(8, GPIO.OUT)
GPIO.setup(9, GPIO.OUT)
GPIO.setup(10, GPIO.OUT)
To start with we will turn all the Motors of:
GPIO.output(7, 0)
GPIO.output(8, 0)
GPIO.output(9, 0)
GPIO.output(10, 0)
Now we can turn the Motors individually so lets start by first turning the left motor (motor A)
GPIO.output(9, 0)
GPIO.output(10, 1
Naturally we will now set the right motor forward (motor) B to foward in the same way
GPIO.output(7, 0)
GPIO.output(8, 1)
At the End of Our Code we want to clean up are GPIO pins otherwise we would end up ruining our raspberry pi, we can do this by typing
GPIO.cleanup()
You may have noticed that I have not shown what the time.sleep() function does. This is becuase I have shown how to do in my explorer HAT robot tutorial.
How to control your robot with your normal computer (SSH):
In this tutorial you will learn to control using an SSH client called putty:
 Click here to download putty!
click on the link that that says "putty.exe"
first we need to set a static IP on the pi so we do this by opening up terminal and typing:
pi@raspberry ~ $ ifconfig
make a note of the IP adress (inet addr), Broadcast rasnge (Bcast) and the Subnet mask (Mask) it gives you then type
pi@raspberry ~ $ sudo route -n
Ok make a note of the Destination and Gateway adress then type:
pi@raspberry ~ $ sudo nano /etc/network/interfaces
this will have given you a screen that looks like this:
allow-hotplug wlan0
iface wlan) inet manual
wpa_roan /etc/wpa_supplicant/
wpa_supplicant.conf
ok now change where it says manual on line 2 to static and add the next five lines:
address [the ip address you got]
netmask [the netmask you got]
network [the destination]
broadcast [the broadcast range]
gateway [the gateway]
so now we have done lets start our ssh client by opening it up and entering the ip adress we set earlier:
.png)
Now click open and enter your user name and password and you will find yourself in a similar interface as we were before this is becuase we have SSH'd into the raspberry pi's terminal so we will be able to run any of the programs you have written! Congratulations you can now control you robot via SSH!!
GPIO.setup(7, GPIO.OUT)
GPIO.setup(8, GPIO.OUT)
GPIO.setup(9, GPIO.OUT)
GPIO.setup(10, GPIO.OUT)
To start with we will turn all the Motors of:
GPIO.output(7, 0)
GPIO.output(8, 0)
GPIO.output(9, 0)
GPIO.output(10, 0)
Now we can turn the Motors individually so lets start by first turning the left motor (motor A)
GPIO.output(9, 0)
GPIO.output(10, 1
Naturally we will now set the right motor forward (motor) B to foward in the same way
GPIO.output(7, 0)
GPIO.output(8, 1)
At the End of Our Code we want to clean up are GPIO pins otherwise we would end up ruining our raspberry pi, we can do this by typing
GPIO.cleanup()
You may have noticed that I have not shown what the time.sleep() function does. This is becuase I have shown how to do in my explorer HAT robot tutorial.
How to control your robot with your normal computer (SSH):
In this tutorial you will learn to control using an SSH client called putty:
 Click here to download putty!
click on the link that that says "putty.exe"
first we need to set a static IP on the pi so we do this by opening up terminal and typing:
pi@raspberry ~ $ ifconfig
make a note of the IP adress (inet addr), Broadcast rasnge (Bcast) and the Subnet mask (Mask) it gives you then type
pi@raspberry ~ $ sudo route -n
Ok make a note of the Destination and Gateway adress then type:
pi@raspberry ~ $ sudo nano /etc/network/interfaces
this will have given you a screen that looks like this:
allow-hotplug wlan0
iface wlan) inet manual
wpa_roan /etc/wpa_supplicant/
wpa_supplicant.conf
ok now change where it says manual on line 2 to static and add the next five lines:
address [the ip address you got]
netmask [the netmask you got]
network [the destination]
broadcast [the broadcast range]
gateway [the gateway]
so now we have done lets start our ssh client by opening it up and entering the ip adress we set earlier:
.png)
Now click open and enter your user name and password and you will find yourself in a similar interface as we were before this is becuase we have SSH'd into the raspberry pi's terminal so we will be able to run any of the programs you have written! Congratulations you can now control you robot via SSH!!
GPIO.output(7, 0)
GPIO.output(8, 0)
GPIO.output(9, 0)
GPIO.output(10, 0)
GPIO.output(9, 0)
GPIO.output(10, 1
Naturally we will now set the right motor forward (motor) B to foward in the same way
GPIO.output(7, 0)
GPIO.output(8, 1)
At the End of Our Code we want to clean up are GPIO pins otherwise we would end up ruining our raspberry pi, we can do this by typing
GPIO.cleanup()
You may have noticed that I have not shown what the time.sleep() function does. This is becuase I have shown how to do in my explorer HAT robot tutorial.
How to control your robot with your normal computer (SSH):
In this tutorial you will learn to control using an SSH client called putty:
 Click here to download putty!
click on the link that that says "putty.exe"
first we need to set a static IP on the pi so we do this by opening up terminal and typing:
pi@raspberry ~ $ ifconfig
make a note of the IP adress (inet addr), Broadcast rasnge (Bcast) and the Subnet mask (Mask) it gives you then type
pi@raspberry ~ $ sudo route -n
Ok make a note of the Destination and Gateway adress then type:
pi@raspberry ~ $ sudo nano /etc/network/interfaces
this will have given you a screen that looks like this:
allow-hotplug wlan0
iface wlan) inet manual
wpa_roan /etc/wpa_supplicant/
wpa_supplicant.conf
ok now change where it says manual on line 2 to static and add the next five lines:
address [the ip address you got]
netmask [the netmask you got]
network [the destination]
broadcast [the broadcast range]
gateway [the gateway]
so now we have done lets start our ssh client by opening it up and entering the ip adress we set earlier:
.png)
Now click open and enter your user name and password and you will find yourself in a similar interface as we were before this is becuase we have SSH'd into the raspberry pi's terminal so we will be able to run any of the programs you have written! Congratulations you can now control you robot via SSH!!
GPIO.output(7, 0)
GPIO.output(8, 1)
At the End of Our Code we want to clean up are GPIO pins otherwise we would end up ruining our raspberry pi, we can do this by typing
GPIO.cleanup()
You may have noticed that I have not shown what the time.sleep() function does. This is becuase I have shown how to do in my explorer HAT robot tutorial.
How to control your robot with your normal computer (SSH):
In this tutorial you will learn to control using an SSH client called putty:
 Click here to download putty!
click on the link that that says "putty.exe"
first we need to set a static IP on the pi so we do this by opening up terminal and typing:
pi@raspberry ~ $ ifconfig
make a note of the IP adress (inet addr), Broadcast rasnge (Bcast) and the Subnet mask (Mask) it gives you then type
pi@raspberry ~ $ sudo route -n
Ok make a note of the Destination and Gateway adress then type:
pi@raspberry ~ $ sudo nano /etc/network/interfaces
this will have given you a screen that looks like this:
allow-hotplug wlan0
iface wlan) inet manual
wpa_roan /etc/wpa_supplicant/
wpa_supplicant.conf
ok now change where it says manual on line 2 to static and add the next five lines:
address [the ip address you got]
netmask [the netmask you got]
network [the destination]
broadcast [the broadcast range]
gateway [the gateway]
so now we have done lets start our ssh client by opening it up and entering the ip adress we set earlier:
.png)
Now click open and enter your user name and password and you will find yourself in a similar interface as we were before this is becuase we have SSH'd into the raspberry pi's terminal so we will be able to run any of the programs you have written! Congratulations you can now control you robot via SSH!!
GPIO.cleanup()
You may have noticed that I have not shown what the time.sleep() function does. This is becuase I have shown how to do in my explorer HAT robot tutorial.
How to control your robot with your normal computer (SSH):
In this tutorial you will learn to control using an SSH client called putty:
 Click here to download putty!
click on the link that that says "putty.exe"
first we need to set a static IP on the pi so we do this by opening up terminal and typing:
pi@raspberry ~ $ ifconfig
make a note of the IP adress (inet addr), Broadcast rasnge (Bcast) and the Subnet mask (Mask) it gives you then type
pi@raspberry ~ $ sudo route -n
Ok make a note of the Destination and Gateway adress then type:
pi@raspberry ~ $ sudo nano /etc/network/interfaces
this will have given you a screen that looks like this:
allow-hotplug wlan0
iface wlan) inet manual
wpa_roan /etc/wpa_supplicant/
wpa_supplicant.conf
ok now change where it says manual on line 2 to static and add the next five lines:
address [the ip address you got]
netmask [the netmask you got]
network [the destination]
broadcast [the broadcast range]
gateway [the gateway]
so now we have done lets start our ssh client by opening it up and entering the ip adress we set earlier:
.png)
Now click open and enter your user name and password and you will find yourself in a similar interface as we were before this is becuase we have SSH'd into the raspberry pi's terminal so we will be able to run any of the programs you have written! Congratulations you can now control you robot via SSH!!
pi@raspberry ~ $ ifconfig
make a note of the IP adress (inet addr), Broadcast rasnge (Bcast) and the Subnet mask (Mask) it gives you then type
pi@raspberry ~ $ sudo route -n
Ok make a note of the Destination and Gateway adress then type:
pi@raspberry ~ $ sudo nano /etc/network/interfaces
this will have given you a screen that looks like this:
allow-hotplug wlan0
iface wlan) inet manual
wpa_roan /etc/wpa_supplicant/
wpa_supplicant.conf
ok now change where it says manual on line 2 to static and add the next five lines:
address [the ip address you got]
netmask [the netmask you got]
network [the destination]
broadcast [the broadcast range]
gateway [the gateway]
so now we have done lets start our ssh client by opening it up and entering the ip adress we set earlier:
.png)
Now click open and enter your user name and password and you will find yourself in a similar interface as we were before this is becuase we have SSH'd into the raspberry pi's terminal so we will be able to run any of the programs you have written! Congratulations you can now control you robot via SSH!!
pi@raspberry ~ $ sudo route -n
Ok make a note of the Destination and Gateway adress then type:
pi@raspberry ~ $ sudo nano /etc/network/interfaces
this will have given you a screen that looks like this:
allow-hotplug wlan0
iface wlan) inet manual
wpa_roan /etc/wpa_supplicant/
wpa_supplicant.conf
ok now change where it says manual on line 2 to static and add the next five lines:
address [the ip address you got]
netmask [the netmask you got]
network [the destination]
broadcast [the broadcast range]
gateway [the gateway]
so now we have done lets start our ssh client by opening it up and entering the ip adress we set earlier:
.png)
Now click open and enter your user name and password and you will find yourself in a similar interface as we were before this is becuase we have SSH'd into the raspberry pi's terminal so we will be able to run any of the programs you have written! Congratulations you can now control you robot via SSH!!
Ok make a note of the Destination and Gateway adress then type:
pi@raspberry ~ $ sudo nano /etc/network/interfaces
this will have given you a screen that looks like this:
allow-hotplug wlan0
iface wlan) inet manual
wpa_roan /etc/wpa_supplicant/
wpa_supplicant.conf
ok now change where it says manual on line 2 to static and add the next five lines:
address [the ip address you got]
netmask [the netmask you got]
network [the destination]
broadcast [the broadcast range]
gateway [the gateway]
so now we have done lets start our ssh client by opening it up and entering the ip adress we set earlier:
.png)
Now click open and enter your user name and password and you will find yourself in a similar interface as we were before this is becuase we have SSH'd into the raspberry pi's terminal so we will be able to run any of the programs you have written! Congratulations you can now control you robot via SSH!!
allow-hotplug wlan0
iface wlan) inet manual
wpa_roan /etc/wpa_supplicant/
wpa_supplicant.conf
ok now change where it says manual on line 2 to static and add the next five lines:
address [the ip address you got]
netmask [the netmask you got]
network [the destination]
broadcast [the broadcast range]
gateway [the gateway]
so now we have done lets start our ssh client by opening it up and entering the ip adress we set earlier:
.png)
Now click open and enter your user name and password and you will find yourself in a similar interface as we were before this is becuase we have SSH'd into the raspberry pi's terminal so we will be able to run any of the programs you have written! Congratulations you can now control you robot via SSH!!
address [the ip address you got]
netmask [the netmask you got]
network [the destination]
broadcast [the broadcast range]
gateway [the gateway]
so now we have done lets start our ssh client by opening it up and entering the ip adress we set earlier:
.png)